
STEP ONE: Install VS Code
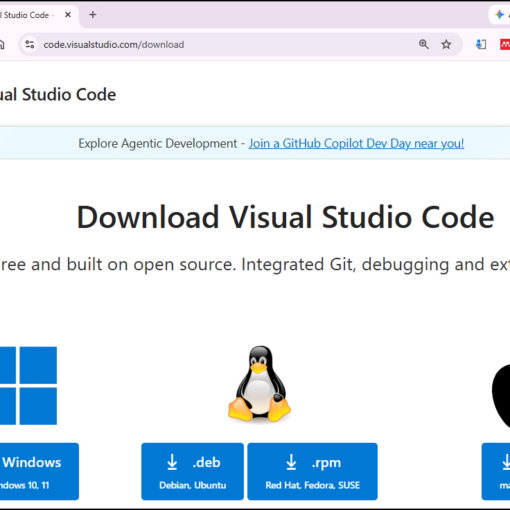
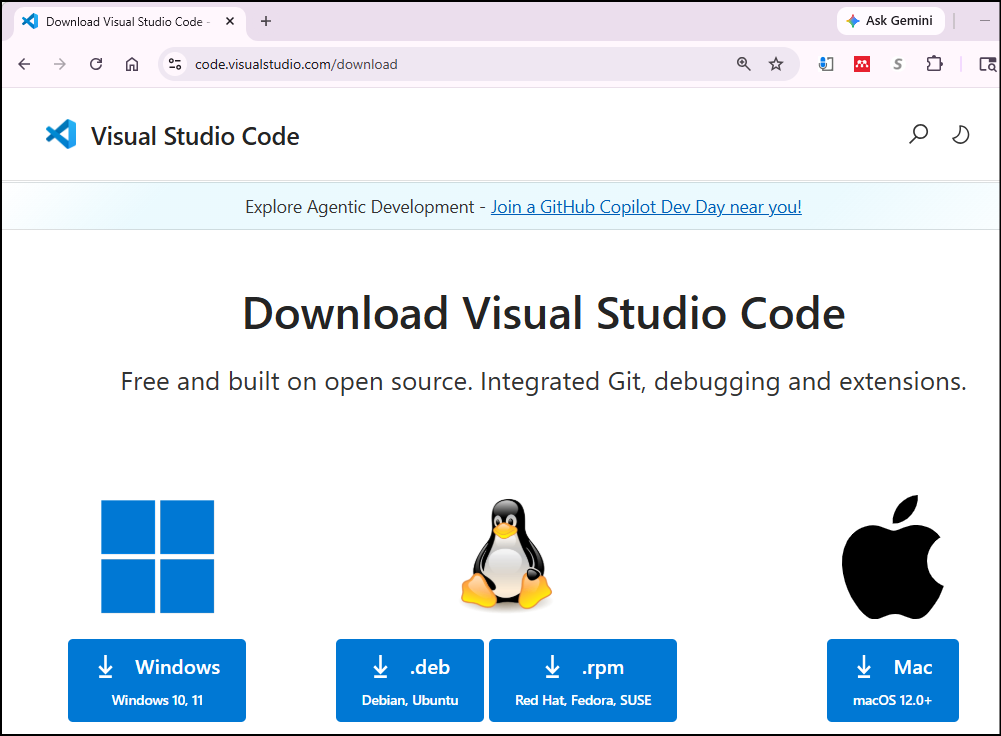
- Download Visual Studio Code (VS Code) for MacOS from https://code.visualstudio.com/download.
- Extract (Double click) the downloaded VS code file.
- Drag
Visual Studio Code.appto the ‘Applications’ folder and make it available in the MacOS Launchpad. - To launch VS code, press
Command + spacebar and typeVisual Studio Code.appand click VS code icon.- You can add the VS Code to your Dock by right-clicking on the icon and choosing Options, Keep in dock.
- Later, you can launch the VS Code directly clicking the VS Code icon in Dock.
- You can also launch VS Code from the macOS terminal, but path need to be added.
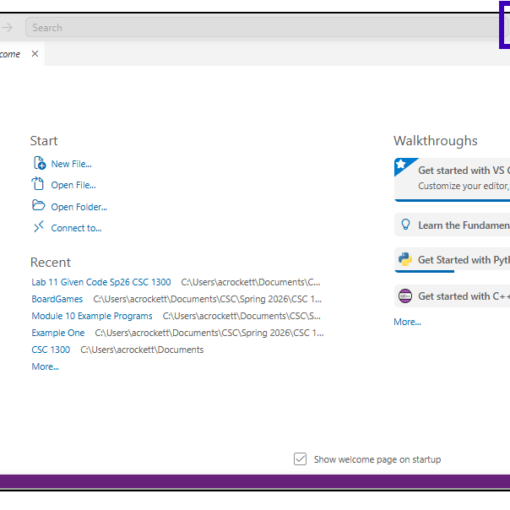
- Launch VS Code (as in step 4)
- Open the Command Palette
(Shift + command + P)and type ‘shell command’ and click Shell Command: Install ‘code’ command in PATH.
STEP TWO: Install C++ Extension to VS Code
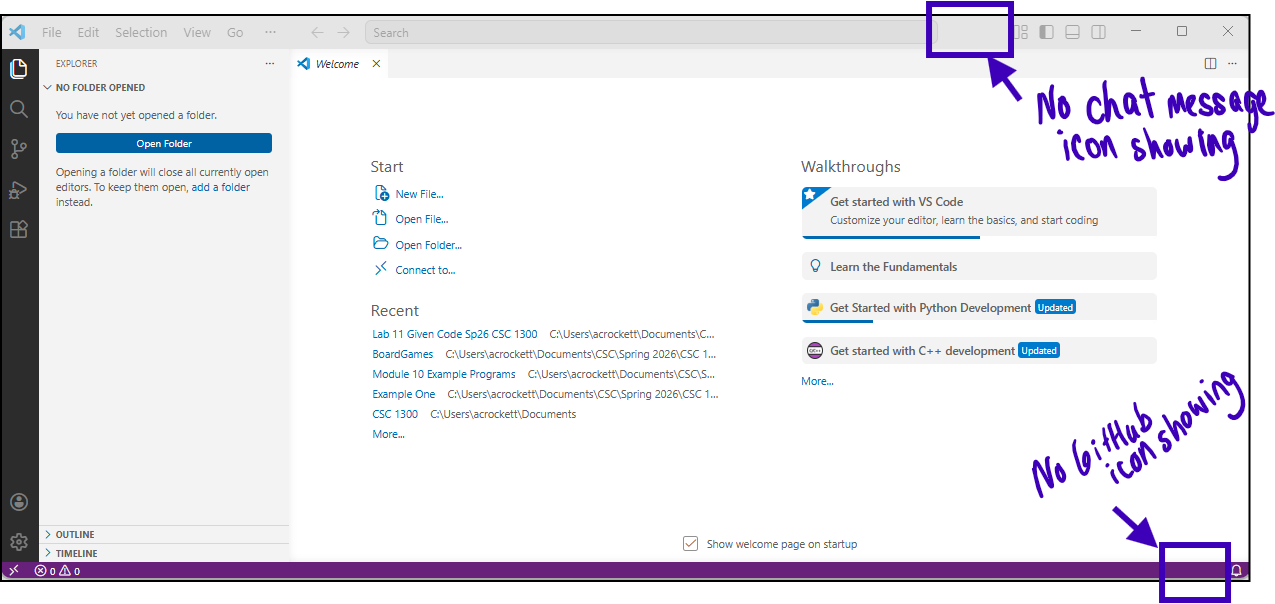
- Click on the Extensions button in VS Code. It is in the menu on the left side (see image below).
Then, type “C++” in the search bar (see image below) and hit the Enter key on your keyboard to display all extensions related to C++.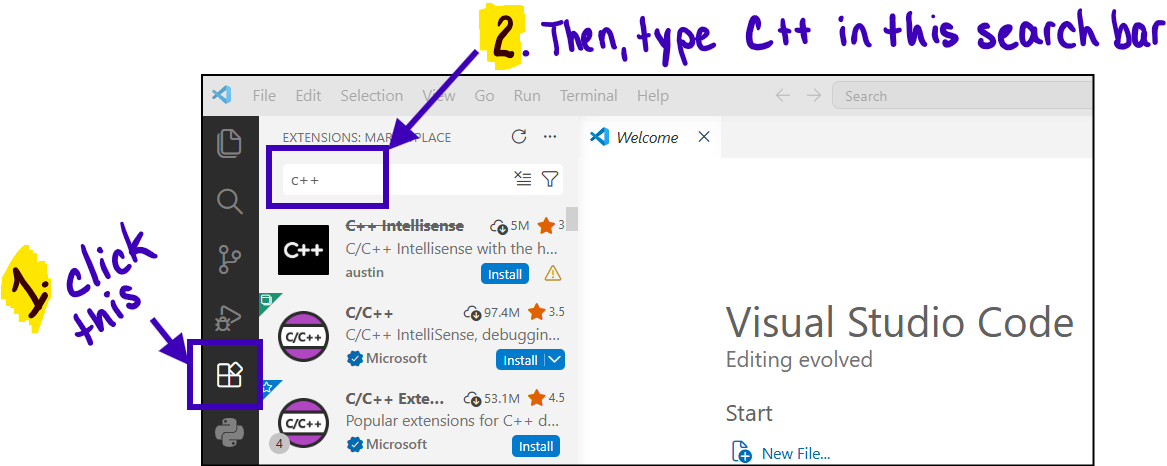
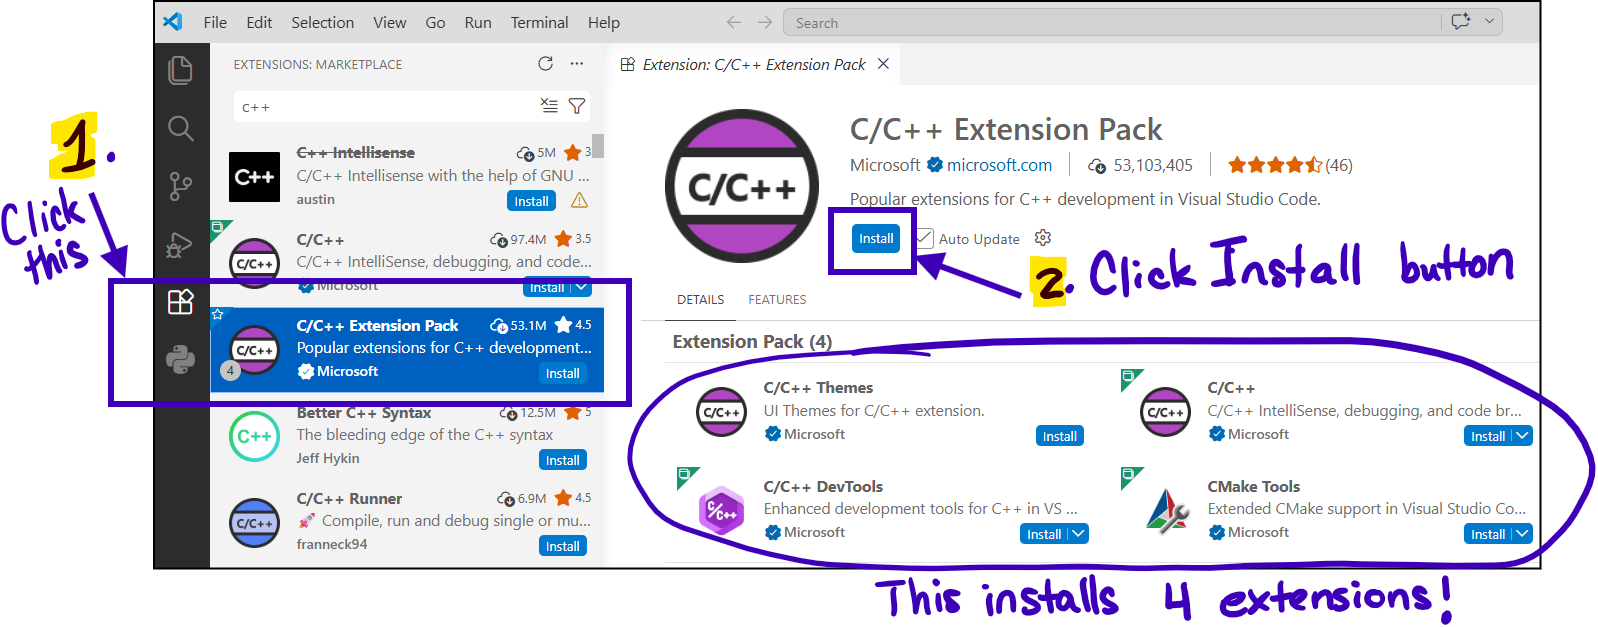
- Then, click on the C/C++ Extension Pack Microsoft extension and click the Install button. This extension will install four extensions at one time.

