Telescope set-ups
Three different telescopes were set up on equatorial mounts to track the Sun across the sky. A dedicated ZWO astronomical camera was connected to each of these and both single images and movies were recorded on laptop computers using the dedicated Firecapture imaging software.
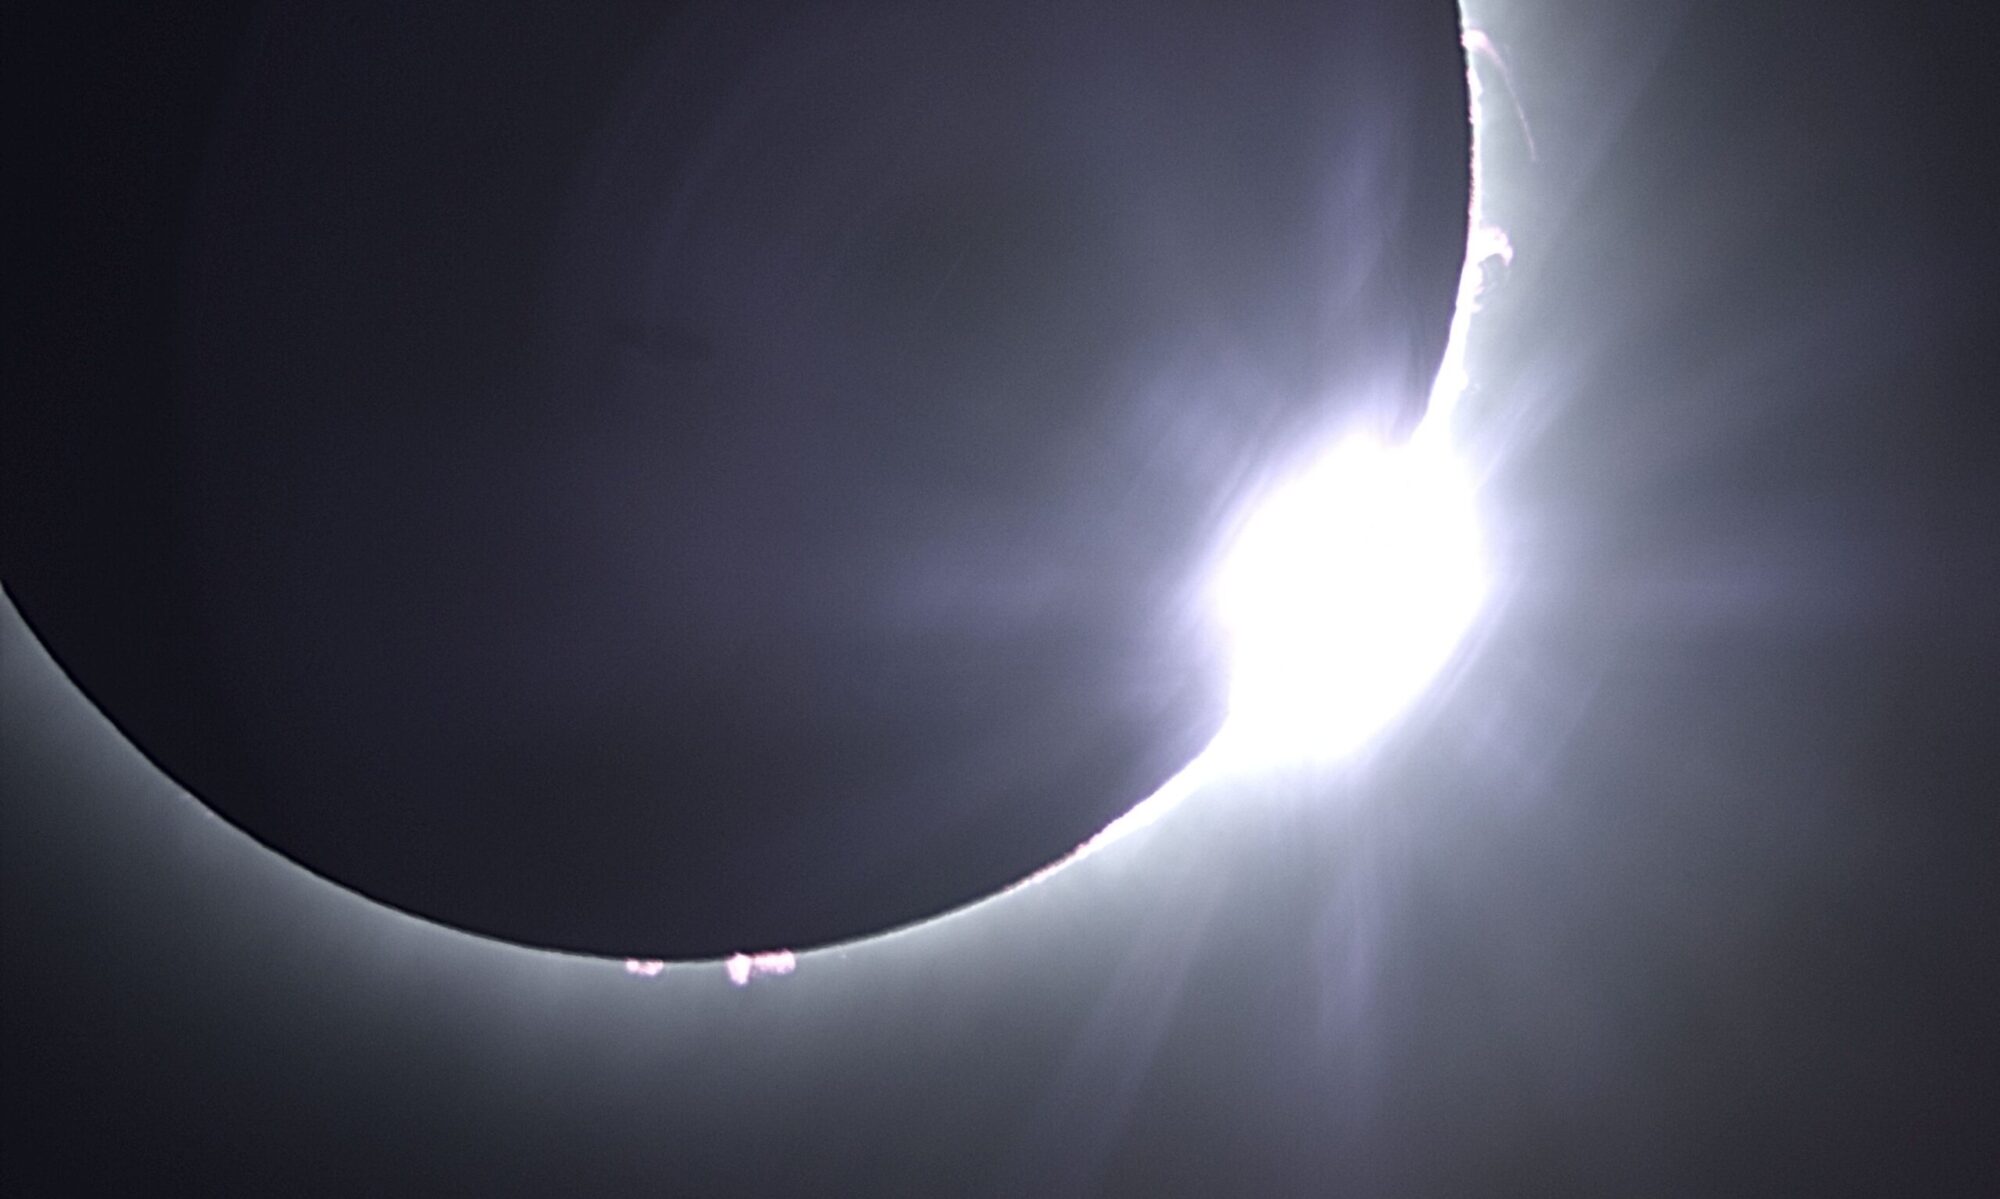
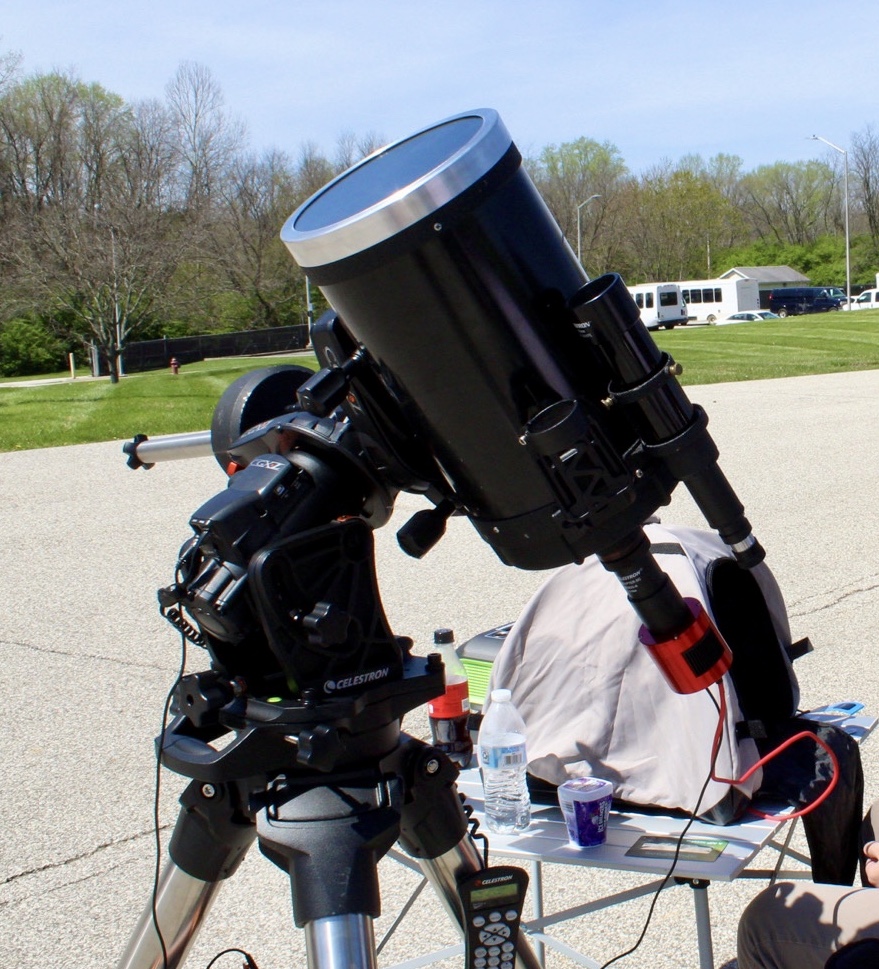
Primarily intended to capture Bailey’s Beads and solar prominences, a Celestron C8 reflecting telescope was installed on a Celestron CGX-L mount. A ZWO ASI294MC-Pro camera was attached, with a UV/IR cut filter to block out non-visual wavelengths. Images were recorded at a rate of about 20 frames per second. Before and after totality, a custom solar filter was mounted on the front of the telescope and timelapse images of the partial phases of the eclipse were recorded.
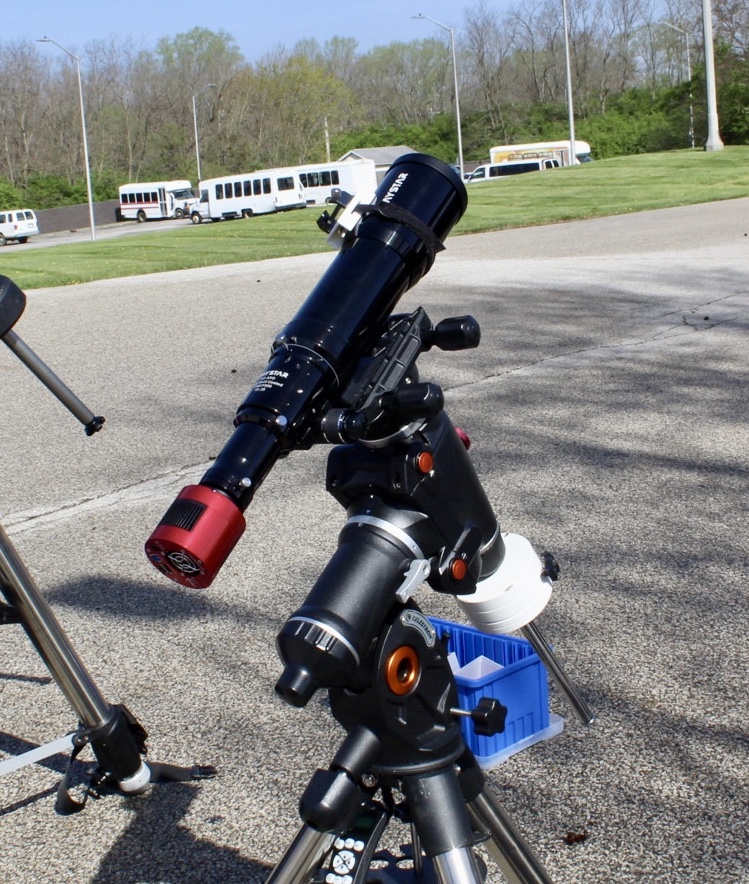
To capture images of the solar corona, a Daystar 400 refracting telescope was set on a Celestron CGEM II mount with a ZWO ASI183MM-Pro monochrome camera. (A color camera is not needed as the corona is essentially white.) Again, a UV/IR cut filter was used to block out non-visual wavelengths. Becasue of the large variation in brightness within the corona, during totality continuous sets of images of different exposures from 0.4 ms to 1 s were recorded. For setup and calibration purposes before totality, a custom solar filter was used.
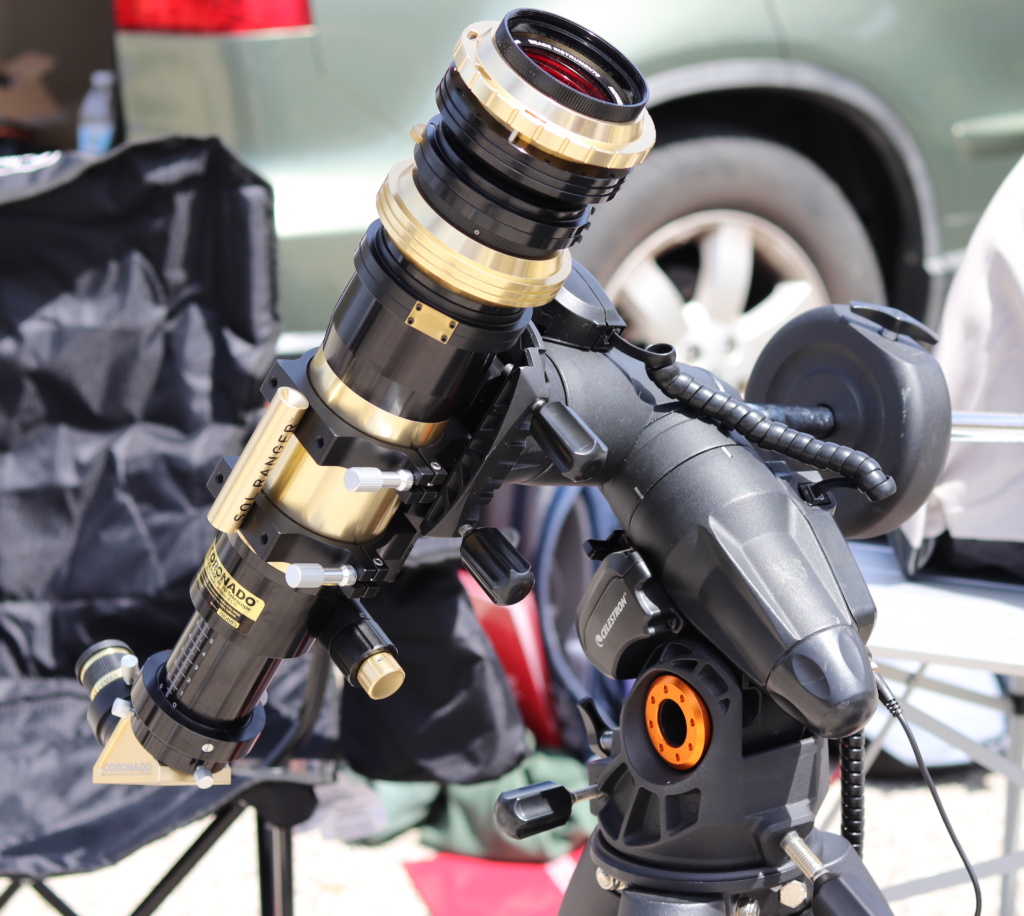
In an effort to capture specific details of solar prominences, we mounted a Coronado Solarmax II 70 telescope of a Celestron AVX mount. with a ZWO AVI monochrome camera. This telescope incorporates two etalon filters that isolate just the specific wavelength of red light being produced by hydrogen atoms (called H-alpha). Because of this wavelength selection, no specific solar filter is needed before and after totality. Unfortunately, the resulting lack of intensity meant we were only able to record a time-lapse before totality and a single prominence.
Other setups
In addition to the main telescope setups, three other ‘stations’ were established.
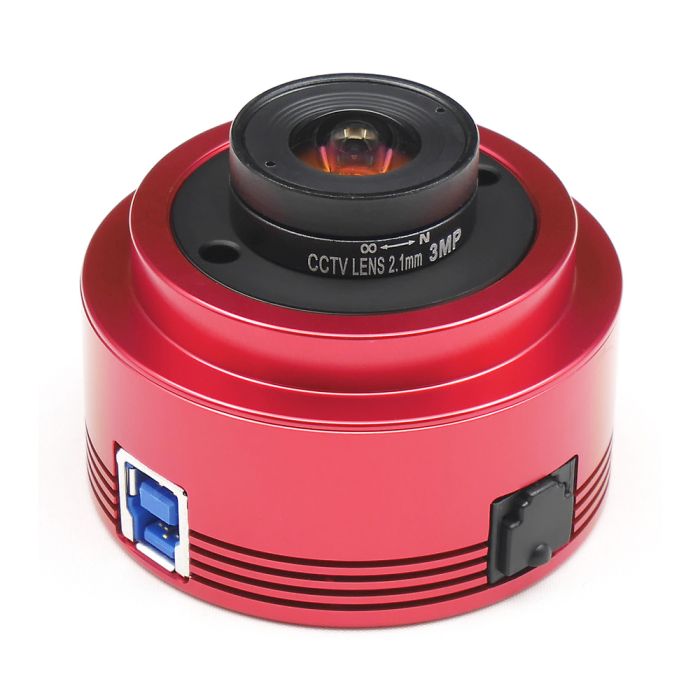
A ZWO ASI224MC camera with a wide-angle lens was mounted on a fixed tripod to record wide-field images of the whole sky before, during, and after totality. The aim of this setup was to record the changing sky conditions as the eclipse progressed, as well as to see what other celestial objects (planets and bright stars) were visible during totality. (Unfortunately it turned out the red channel on this camera was not working.)
To try to capture a movie of the shadow bands often seen during a total eclipse, two white foam boards were laid on the ground and a DSLR camera was aimed at them. This camera recorded a continuous movie from just before to just after totality.
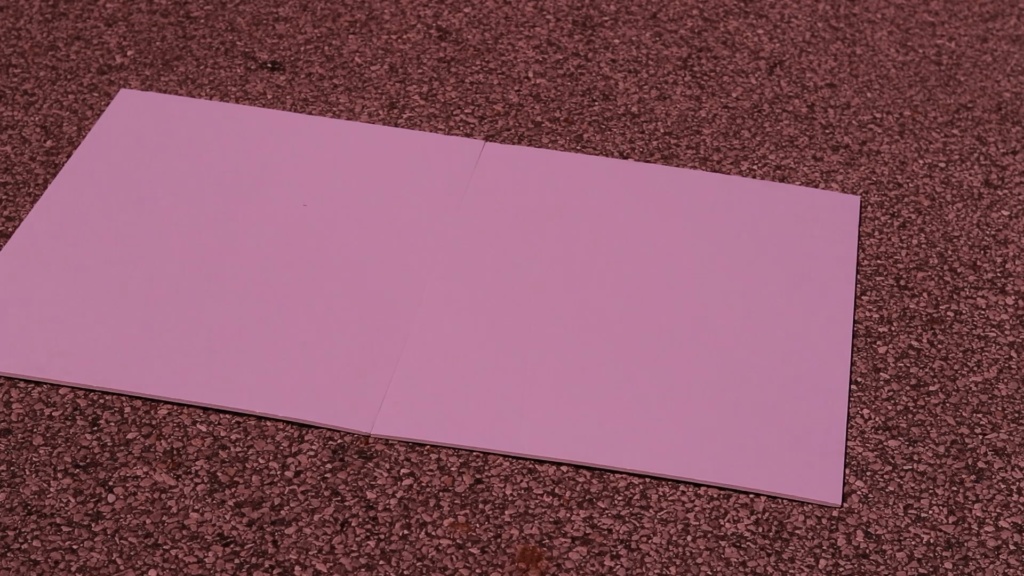
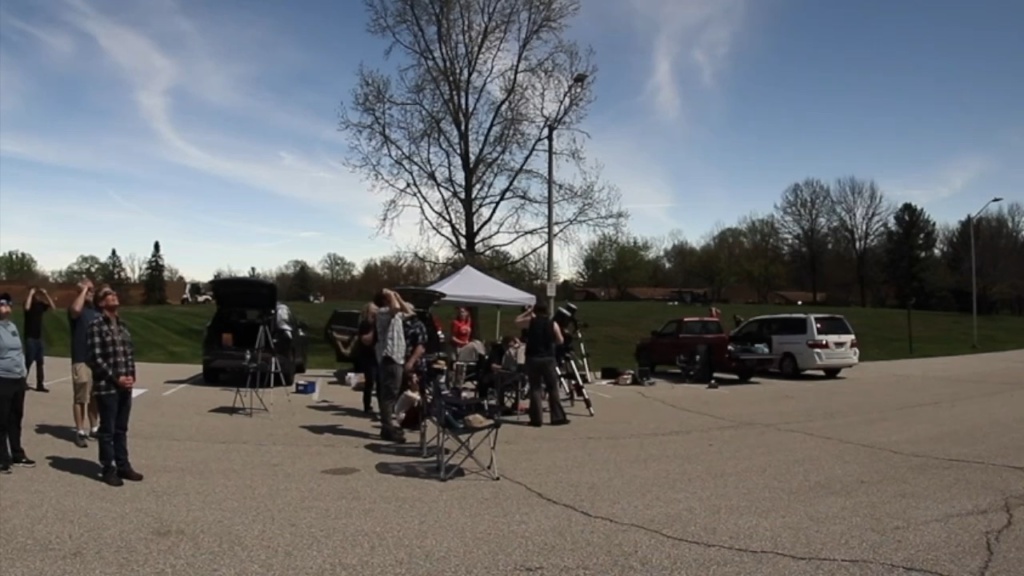
To record a movie of our own reactions to experiencing the eclipse, a second DSLR camera was aimed at the group from across the parking lot. As it turns out, this camera also captured some of the shadow bands.
Techniques
Images from movies: Because an eclipse is a relatively ‘bright’ event (at least compared to night-time deep sky astrophotography) only very short exposures are needed, and many such images can be recorded in a short time. An efficient way to do this is simply to record a movie and select out the best frames (those with the least atmospheric distortion) for processing. These good frames can then be further combined to give more detail. This technique is known as lucky imaging and is commonly used for astronomical imaging of brighter objects, such as the Sun, Moon, and planets. This was the technique Lily, Evelyn, and Aaron used to create their images of Baily’s Beads and solar prominences.
High Dynamic Range (HDR) imaging: The solar corona has such a broad range of intensities that any single exposure time will not do it justice. Instead, Mackenzie had to use a range of exposure times to capture different parts of the corona. Very short exposures were needed to capture the inner corona, but increasingly longer exposures were needed to capture detail further out from the Sun (in which the inner parts of the corona are overexposed). Many sets of such ‘bracketed’ exposures were recorded and each group of the same exposure was combined into a’master’. These masters were then combined to create a single high dynamic range (HDR) image..
